Hello lovelies.
I'm back with another card made using Lavinia Stamps products.
These are the products I used -
Pippin Stamps
I'll list the other stuff I used as I explain how I made the card :)
So ...

.. this is what I did.
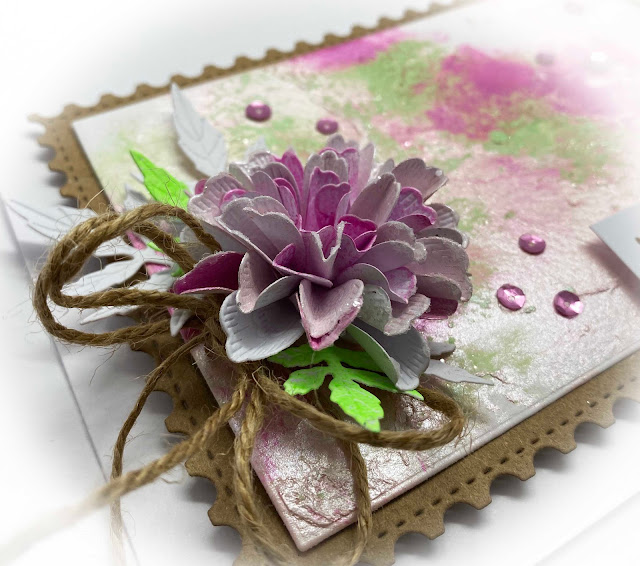
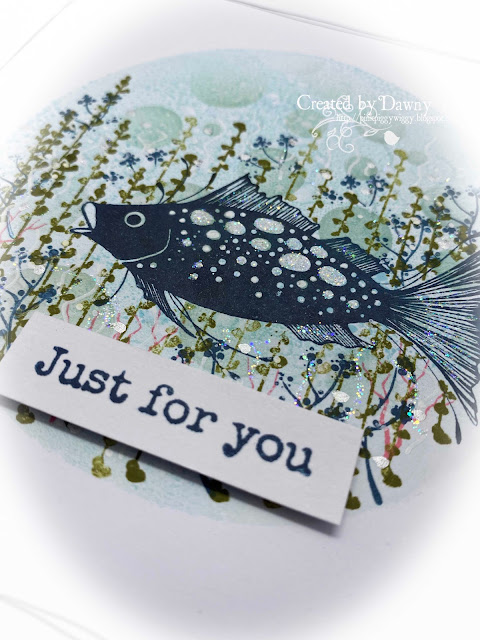
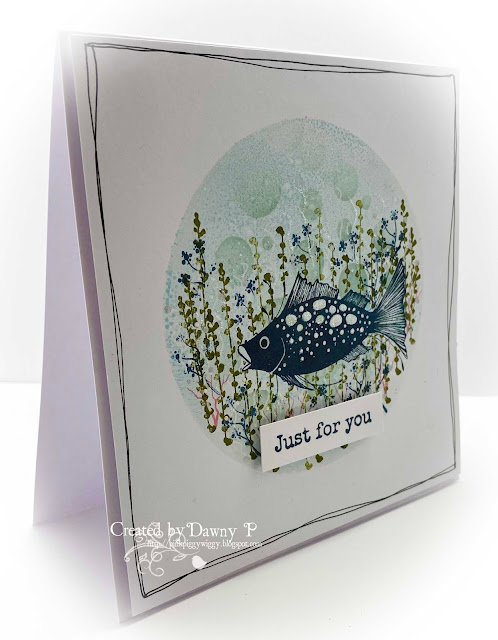
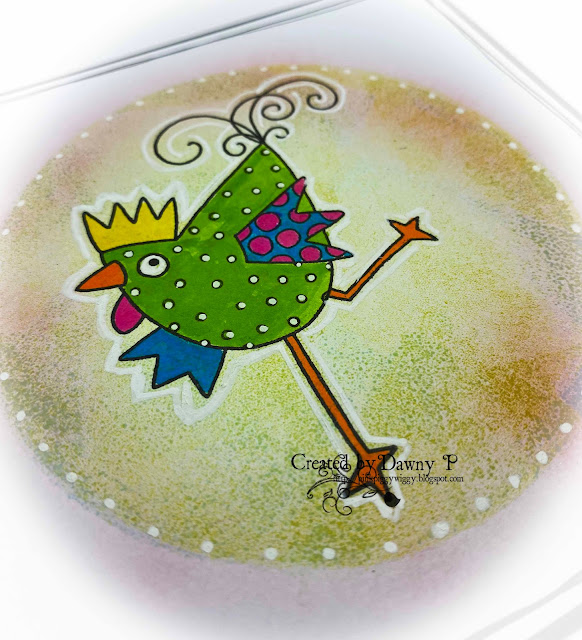
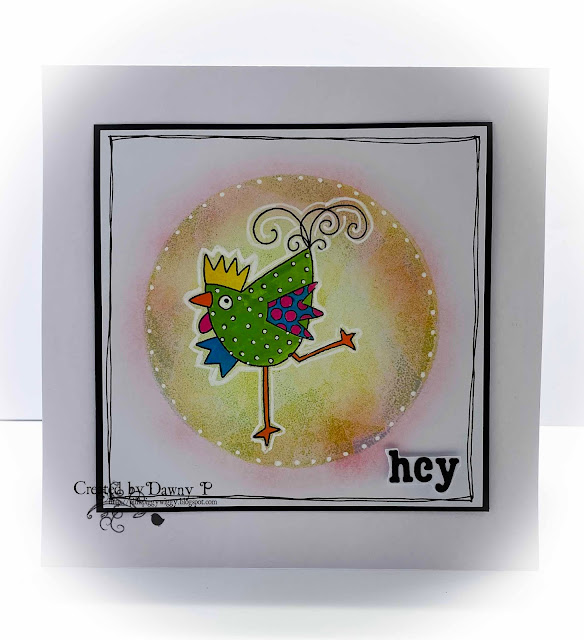
Firsty, I used the outside bit of the largest circle mask, placed in onto the card and using a Vaessen Creative Blending Brush and Tumbled Glass Distress Ink I added the ink starting form the outside and working inwards and using less and less ink as I went.
Once done, I swapped the outside bit of the mask for the inside bit (the complete circle) and covered up what I'd done.
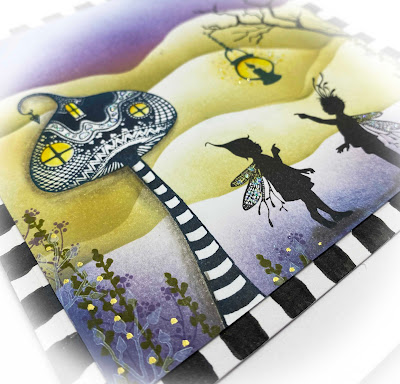
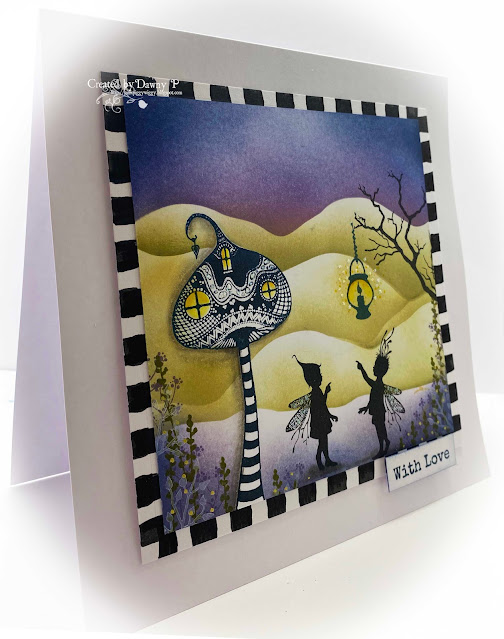
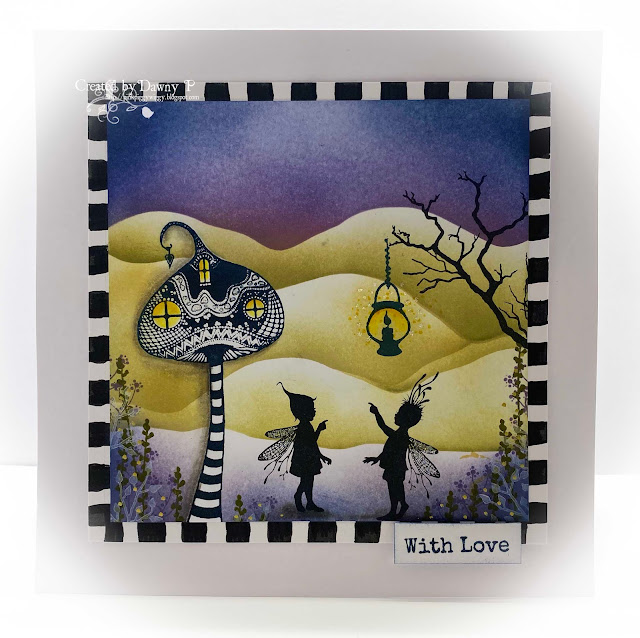
Once completed, I stamped the mushrooms, Pippin and the little stars within the circle I created at the beginning then added a bit of clear glitter around the stars

Then I placed the Berry stencil over the top and using Weathered Wood Distress Ink and a blending brush, I applied the ink through the stencil. I found that using something like a
Wendy Vecchi Make Art Stay-tion made this easy. These are worth a look if you've never seen one - it's like an extra pair of hands and they really hold your work still.
Once completed, I stamped the mushrooms, Pippin and the little stars within the circle I created at the beginning. I used Versafine Clair Nocturne because it's nice and black.

Then because I cannot help myself, added a bit of clear glitter around the stars :)

I trimmed it down and mounted it onto black card then stuck it to my card base. Finally I stamped 'Dream' and stuck that down.
And my work was done!!
I made this for my friend for her birthday but she's had the card now so I'm safe to share lol.
I hope you like it and thanks for stopping by today.
Hugs, Dawny xx