Showing posts with label tim holtz distress ink. Show all posts

Wednesday, 2 February 2022

Elegance, Dreams and Fairy Wishes


]Hello lovelies and hope you are OK.

Here's a card I made using some Lavinia Stamps goodies and some Distress Inks ...


... and this is it.

So for this one, I used the Elegance stencil to make a background with Weathered Wood DI - very lightly applied - then I second generation stamped the Magic Surrounds Us words randomly before finally going around the edge of the card  with Tumbled Glass DI. 

Then I stamped the branch, fairy charms and fairy Rue over the stencilling. A stamping platform such as  the Vaessen Creative Stamp Easy really helps line everything up perfectly.

Usually I would mount this straight onto a white card blank but I went off piste here and lightly stencilled the card base with the Weathered Wood DI as well.


Once it was all in place, I added the sentiment. 


I added a bit of fairy dust (clear glitter to you and me lol)  to Rue's wings and also along the charms and I really like how this gave it a very subtle twinkle.


So there you have it. 

A quite simple card which didn't take very long but looks like you spend ages on it.

I'll list what I used here and it's all linked to where you can buy it from which I hope will help  - 


Tuesday, 1 February 2022

A Bit More Stencilling


Hello lovelies.
I'm sharing a card today which again I made a while ago but I really like it.

I've been at the stencils again and I THINK the stencil I used is from Tonic Studios - this one is Fantasy Floral. I'm not sure if this is still available in the UK but I reckon any stencil would do for this card.


And this is what I did.

I've used inks in blues and greens over watercolour card, but any colours you have would be fine.

I gave this one a little twist though ....


... and I painted over the inks in certain areas with a bit of water and also with a Tonic Glitter Gloss Shimmer Pen. 

I really like how it added an almost gold tint over the green.

Then I spritzed it all with some water before layering onto some white card and then again onto a white card base.


That olive green ribbon is over sized and just how I like it. A lady once told me at a craft show I was working at that she didn't like my 'in your face' bows. But I do like them and think they make your cards look fabulous.

The big pearly thing on top of the bow is an old button I found - I just cut the shank off and hot glued it down.

I'm going to re-visit this card with some new stuff I've just bought so watch this space.

Take care and thanks for stopping by today.

Hugs, Dawny xx 


Monday, 31 January 2022

Dream


Hello lovelies.
I'm back with another card made using Lavinia Stamps products.

These are the products I used - 


Pippin Stamps


I'll list the other stuff I used as I explain how I made the card :)


So ...


.. this is what I did.

Firsty, I used the outside bit of the largest circle mask, placed in onto the card and using  a Vaessen Creative Blending Brush and Tumbled Glass Distress Ink I added the ink starting form the outside and working inwards and using less and less ink as I went.  

Once done, I swapped the outside bit of the mask for the inside bit (the complete circle) and covered up what I'd done. 

Once completed, I stamped the mushrooms, Pippin and the little stars within the circle I created at the beginning then added a bit of clear glitter around the stars


Then I placed the Berry stencil over the top and using Weathered Wood Distress Ink and a blending brush, I applied the ink through the stencil. I found that using something like a 
Wendy Vecchi Make Art Stay-tion made this easy. These are worth a look if you've never seen one - it's like an extra pair of hands and they really hold your work still.

Once completed, I stamped the mushrooms, Pippin and the little stars within the circle I created at the beginning. I used Versafine Clair Nocturne because it's nice and black. 


Then because I cannot help myself,  added a bit of clear glitter around the stars :)


I trimmed it down and mounted it onto black card then stuck it to my card base. Finally I stamped 'Dream' and stuck that down.

And my work was done!!

I made this for my friend for her birthday but she's had the card now so I'm safe to share lol.

I hope you like it and thanks for stopping by today.

Hugs, Dawny xx


Sunday, 30 January 2022

Be Happy and Waste Not Want Not :)


Hello and a very happy Sunday.

I'm sharing a card I made today which kind of happened by accident.


So I'd been using the very lovely Sue Wilson French Marigold Die Set as you saw the other day, and I was about to chuck the waste sheet out and though 'hang on a sec and let's not be so hasty!!'

I thought it might make a nice stencil so that's  what I did. 


This is the sheet here, complete with Distress Ink...


And this ...


... is the card I made.

I used a mix of Mermaid Lagoon, Twisted Citron and Tumbled Glass Distress Inks and applied them onto some watercolour card with a Vaessen Creative Blending Brush - you could use your smoothies or anything you like really. I then cut out a circle using a Sue Wilson Noble Double Stitched Circle die. 


The striped card behind the circle is from the Dots and Stripes 8x8 paper pack and once I'd trimmed it and stuck it down, I edged it with some clear glitter. 


Then I cut a doily shape from Sam Poole's Shabby Doily die, cut it in half and added some Distress Inks to one half. I stuck the plain white half down first then stuck the coloured half over the top of it then stuck down the stencilled circle.


Then I made the flowers ....


.. and I love how they turned out.

I gave then a quick once over with the DIs, shaped them then dabbed a bit of clear glitter onto them. The centres are some small glass beads I had from years back, but you could add what you like really.


This fabulous sentiment is from the Happy Motivation stamp set designed by Francoise Read, and I stamped it first in Mermaid Lagoon then over stamped again in Peeled Paint. 

You get a sort of two tone effect which is quite nice.


So there we are. 
I'm quite glad I didn't chuck that waste card out because it turned out OK. 

Enjoy the rest of your weekend and see you soon.

Hugs, Dawny xx

Saturday, 29 January 2022

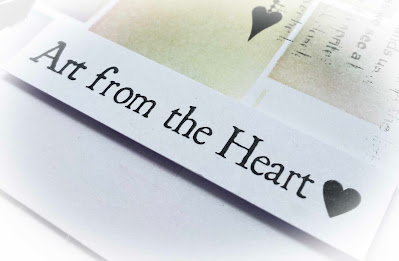
Art From The Heart


Hello lovelies.
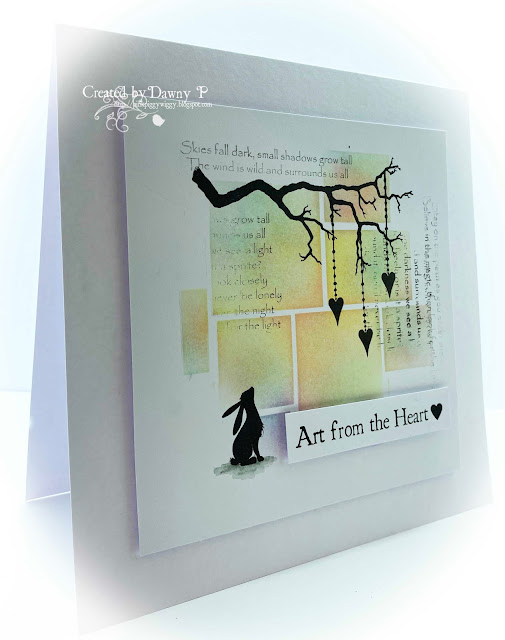
I'm sharing a card today which I made from an on line workshop I did with the super talented and very very lovely Eileen Godwin.

It was a while ago I have to say but one of the cards we did inspired me to use some other products from Lavinia Stamps. 


And ...


... this is what I made. 
Apologies for the photos here by the way - not the standard I'd have liked but the light isn't great here at the mo!!

Anyway, you'll get the gist I hope.

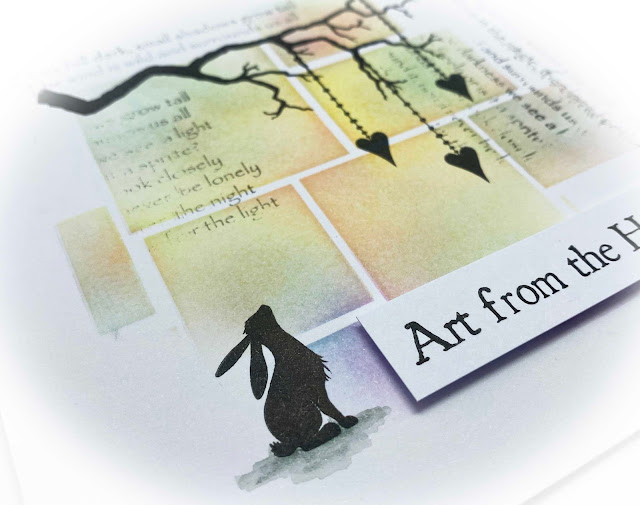
So I stencilled the background using a Clarity Stencil - Abstract Squares -  and I used Distress Inks with it before doing a bit of stamping.

 All the stamps I used are from Lavinia Stamps and they are - 

 Pippin, Tree Branch and  Fairy Charms.
The words (also Lavinia) are Magic Surrounds Us and Art From The Heart.

All were stamped in Versafine Clair Nocturne.


I have to confess that I made a mess of the second generation stamping of the words on the right - you probably noticed lol.  But I won't not share it because of that.


After I stamped Pippin, I grounded him using some Distress Inks.

Once it was finished, I mounted the panel onto a white card base - I like how it looks.


So that's my make for today - as always, I hope you like it.

See you soon and until then, take care and stay safe.

Hugs, Dawny xx


Thursday, 27 January 2022

Arlo Arlo Arlo (Sorry!!)


Hello lovelies and hope you're OK today.

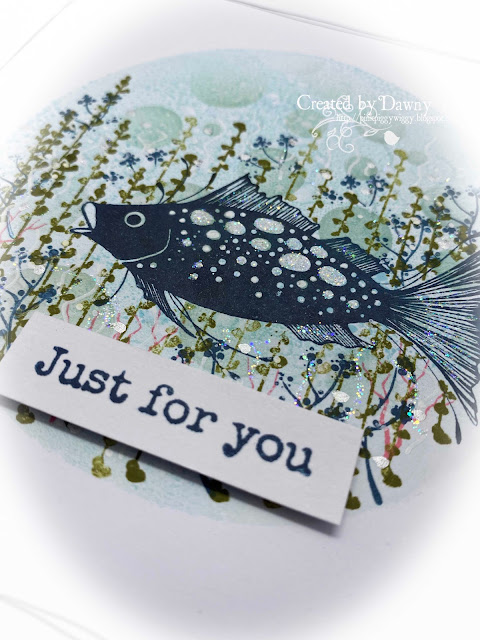
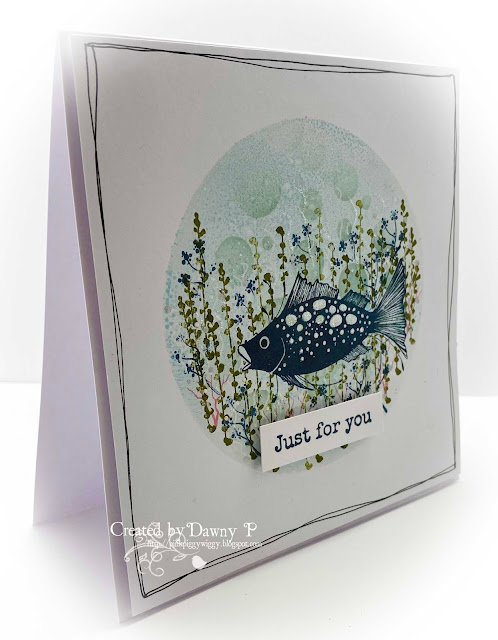
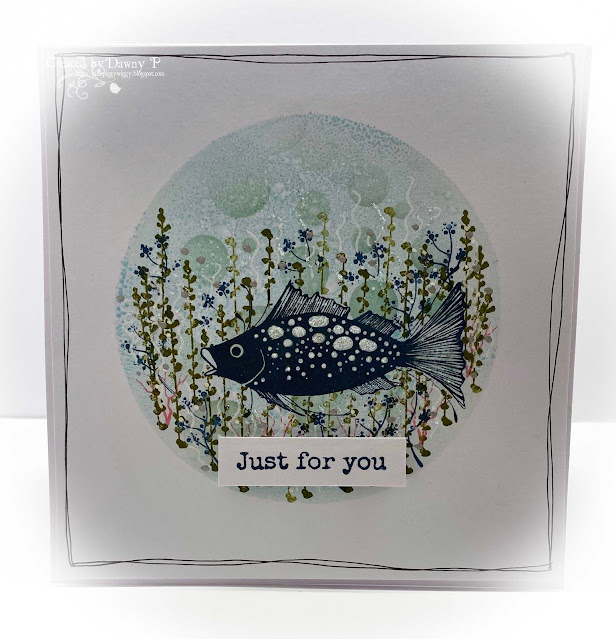
I'm sharing another card made with some Lavinia Stamps and today we are going under water with ...

Arlo

I think he's really nice and a bit different - great for a man's card.


The background was made using a 4" Round Gel Press and some Distress Inks. 

Then I used the White Orbs Stencil before splashing with water to get a bit of texture.


Love these Gel Presses.


Then I stamped Arlo using a mixture of Versafine Clair Nocturne and Versafine Clair Twilight. 

Then it was time to add the foliage - you can really go to town here and add as much or as little as you want. I used the Foliage Set and it's one of my faves. I thought the branches looked a bit like coral so I added a few which I stamped in Worn Lipstick Distress Ink - I did 2nd generation stamping here as I didn't want it to be too bold.

 Finally I added some clear glitter here and there and a few white Posca Pen squiggles before finishing off with a sentiment from the Heartfelt Verses set.

I hope you like him and thank you for stopping by today.

Huggiest of hugs,
Dawny xx


Saturday, 3 April 2021

Something New - Well It Is To Me :)


Hello lovelies and Happy Easter to you.  
I hope you are all safe and well and having a nice Easter break.

I'm sharing a card today that I made using some stuff that is new to me. It's not to others to be fair but it's my first time using it.

So doing these shows up and down the country, you get to see some awesome stuff but you don't always have the time to play. 

But I promised myself a while back that I would get me some Lavinia Stamps goodies and have a go so I did.  

And this is my first attempt.

Now I know that it's quite plain and simple and relatively clean,  but that's my style. I cannot escape it!! 

And it isn't perfect but hey ho, Rome wasn't built in a day and all that. 

The most important thing is that I enjoyed using  the products and making this card.


The stencil is called Crackle and I used Distress Inks to make the background. 

I used Broken China and Peeled Paint and just added them randomly. I used my new Tonic Studios Magnetic Platform - it's just the best thing for stencilling.


Then I stamped this beautiful Star Burst stamp over the top.
I'll add links and affiliate links at the end in case you want a mooch.


The image is from Tonic Studios Sweet and Simple Sentiment stamp set and I also added a bit of gold on top of the stamped images using Tonic Studios Frosted Lemon Sparkle Spray - it's a fabulous colour. 

I sprayed some onto my mat and then picked it up and added it with a brush.


And that's me done.

It's a bit different from what I usually do, I'll grant you,  but I'm pretty sure I'll be doing this again, and soon!! It's quite addictive lol.

Right, enjoy the rest of this weekend and stay safe and well and I'll be back soon,
Lots of love xxx


Links


Affiliate links -

UK


USA


Sunday, 13 July 2014

Thank You

Good morning sweet peeps and a very happy Sunday to you - I hope that you are all having a fab weekend : )

It’s time for another ‘Lovely Lili’ challenge over at The Ribbon Girl blog and our challenge is a lovely one indeed because it's all about saying

Thank You

It’s always nice to say thank you I think – if only some people in our village would remember this when you let them through even if it is your right of way - (ooh it is one of my pet hates!!).


We have 2 fab prizes for you -

A LOTV stamp of your choice

and a £10 voucher towards a spending spree at The Ribbon Girl


I think you may be surprised at my card today because it was one I did when I fiddling with the shabby chic /vintage thing a few weeks ago  and here …

... it is.
And not an image in sight!!! .

One of the designers whose cards I just adore is Klaudia and my card here was inspired by a card that she did.
So I must say thank you to her first  for the inspiration I have gotten from looking at her beautiful work xxx

The papers I used are the gorgeous Lili of The Valley Antebellum and I inked and distressed them to within an inch of their lives.
They can take it lol!!

The sentiment is from the LOTV Set 58 - Pretty Grungy - Good Times set.
I stamped it straight onto the paper and then punched it out.
It looks like it is at a very dodgy angle in this pic but it isn't IRL – it’s just how it looked from the angle I took the pic!!


I used a mixture of home made paper flowers which I made using Tim Holtz Tattered Florals and others which I got from Mary at The Ribbon Girl.

The flowers from Mary are -

 Tiny Pink Rosebuds, White Starburst Stamen, Pink / Pale Pink Beaded Berries, White Beaded Twirl, 10mm Pink Open Rose, White Floribunda Rose, Floribunda Roses Raspberry Ripple, Darjeeling White Blossom Flower, White Kort & Godt Chrysanth, Rolled Paper Flowers - Ivory Roses Kort & Godt.

I also used  White Seam Binding which I dyed using a Cosmic Shimmer spray.
I spritzed it with the spray then scrunched it up and left it to dry and it dried all lovely and crinkly.

I also used 12mm White Cotton Lace and White Tulle.

The leaves are Tim Holtz Bigz Garden Greens and I die cut them from white card then used some Distress inks and Cosmic Shimmer spray on them so that they looked a bit variegated.

I was quite pleased with how this turned out and it’s given me the confidence to try another card like this s0 watch this space!!
I think I can see an improvement from my last attempt which I’m happy about.

Right I'm off to do some more colouring  - I can’t say what of just yet but it is seasonal, ho ho ho (hee hee heeee).
Then I have to finish, nay start, the grey wicker heart wall hanging thingie which I bought months ago for our bedroom wall.
It needs a bit of tarting up with some floral what nots and ribbon or lace then it can be hung up.

Dicky Mint is at work today and I did my housework (yawwwwwn) yesterday so that  I can have a whole day to craft. Well, that's the plan but Sod’s law that it won’t pan out like that – it never does : 0)

Have a great day whatever you are doing and huggiest of hugs to all xxx